Exporting an iClone Video
Export a project as a video file for final or further production or an image sequence, a single image, or an MMS message.
|
Tip: If you plan to edit your iClone production in another video editing software package you may also use the 2D background option to create a chroma (green/blue) screen and then animate your character. The resulting exported video can be used to composite easily into other projects. |
To export your project as a video file:
-
Open either a project you have created yourself, or one of the existing template projects. Do this by clicking the Project
 button and double clicking one of the projects in the file manager pane. If you saved a project after reading the previous tutorial, use that project. Remember, your custom projects are in the Custom tab, and the predefined template projects are in the Template tab.
-
Click the Export
 icon to start the export feature.
-
Click the Video
 button to export the video as a video file.
-
Set the video format and export parameters. Select WMV format and leave all other settings as they are for this example. (any media option may be used)

5. Click the Export  button to export the video.
6. Select a location and type a name for the exported video file.

7. Click the save  button to save the video.

A video can take a few minutes to render and save. Progress is displayed on the progress bar as shown above.
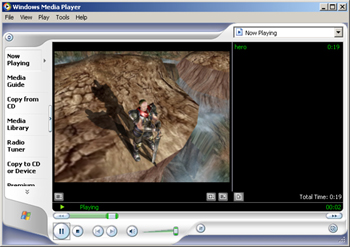
After finishing rendering, the default video player will be opened and start playing your video.

|
Note: You can export video in RM (Real Media), MPEG-4, or AVI format in addition to WMV format. HD video output resolution can be exported in the latest version of iClone 2. |
If you want to keep your project, click the Project  button then click Add
![]() button to add the project to the Custom tab.
button to add the project to the Custom tab.