Changing Your Character’s Shoes
You can give your character shoes based on one of the templates within the iClone application. You can then customize the shoes if you like.
To change your character’s shoes:
1. Open either a project you have created yourself, or one of the existing template projects. Do this by clicking the Project ![]() button and double clicking one of the projects in the file manager pane. If you saved a project after reading the previous tutorial, use that project. Remember, your custom projects are in the Custom tab, and the predefined template projects are in the Template tab.
button and double clicking one of the projects in the file manager pane. If you saved a project after reading the previous tutorial, use that project. Remember, your custom projects are in the Custom tab, and the predefined template projects are in the Template tab.
2. When the project has loaded, either click the Avatar ![]() button and the Shoes
button and the Shoes ![]() button; or click the Shoes option in the drop down menu.
button; or click the Shoes option in the drop down menu.
3. From the Template tab in the file manager pane, double-click shoes to use for your character.

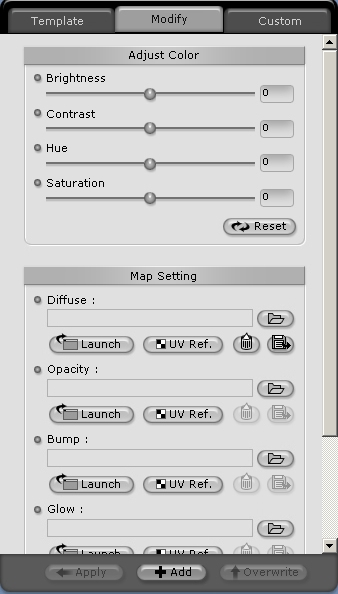
The shoes you selected are applied to your character. If you want to adjust your new shoes, select the Modify tab.

You can adjust the brightness, contrast, hue, and saturation of the shoes you selected. You can also replace the map file or launch an external texture editor to modify the map image with Map Setting functions. See Multiple Channel Texture Mapping for details.
If you like the result, you may want to add your new upper body to the list of custom upper bodies.
Click the Add ![]() button to add it to the Custom tab.
button to add it to the Custom tab.